Edge Effects

Title: By the River Date/Time: 6/3/11 9:00 PM Location: Mesa Falls
F-stop & Shutter Speed: 5.6 & 1/60 Camera: Nikon D40 Fill Flash: 1/32

Since it was getting late and the light was low I used my fill flash to get them lighter but still adjusted the levels in PhotoShop to make it even better. I also added saturation on the trees and river but masked out the effect on Noell and Ronnie. To add the vignette edge I created a new black layer over the image and then deleted the middle of the layer using the marquee selection tool. I then lowered the opacity of the black layer. I added a five pixel white stroke on the middle selection for a more distinct line.

Title: On the Rocks Date/Time: 6/3/11 9:00 PM Location: Mesa Falls
F-stop & Shutter Speed: 5.6 & 1/60 Camera: Nikon D40 Fill Flash: 1/32

The first thing I did was to adjust the levels slightly before working on the edges. I edited the border on this image several times and found that the best way to start was by increasing the canvas size .1 inches all the way around with black as the fill color. I did this because I wanted a little distinction between the blue border and Noell's sweater. Next I increased the canvas size by an inch all the way around with the blue fill color selected from the sweater. Then I added a blue rectangle shape layer half an inch into the image. Next I added a layer mask and drew another rectangle but this time to fill the pixels just .25 inches inside the first rectangle. I reduced the opacity of the layer to 58% and added a motion blur of 45 pixels at 0 and 90 degrees.
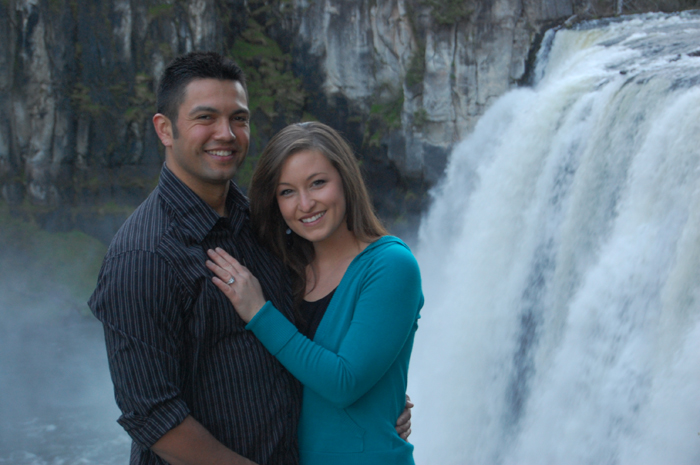
Title: Ronnie and Noell Date/Time: 6/3/11 8:30 PM Location: Mesa Falls
F-stop & Shutter Speed: 5.6 & 1/60 Camera: Nikon D40

I adjusted the levels on this picture first to add more depth to the image. Next I added a white layer over the image and added a layer mask. I chose the hard circle brush and made it big enough to cover Ronnie and Noell's faces and painted black on the mask to bring back the picture. Next I just kept changing the size of the brush and the opacity and brought back several parts of the image. I added a text layer with their names and painted black on the layer mask to bring back dots from the picture over the O's in their names.
posted by Sarah Brown at
10:10 PM
![]()

0 Comments:
Post a Comment
Subscribe to Post Comments [Atom]
<< Home